Northflank 从0到1安装体验 docker Ubuntu 无需保活配置 Frp 畅享 SSH 服务
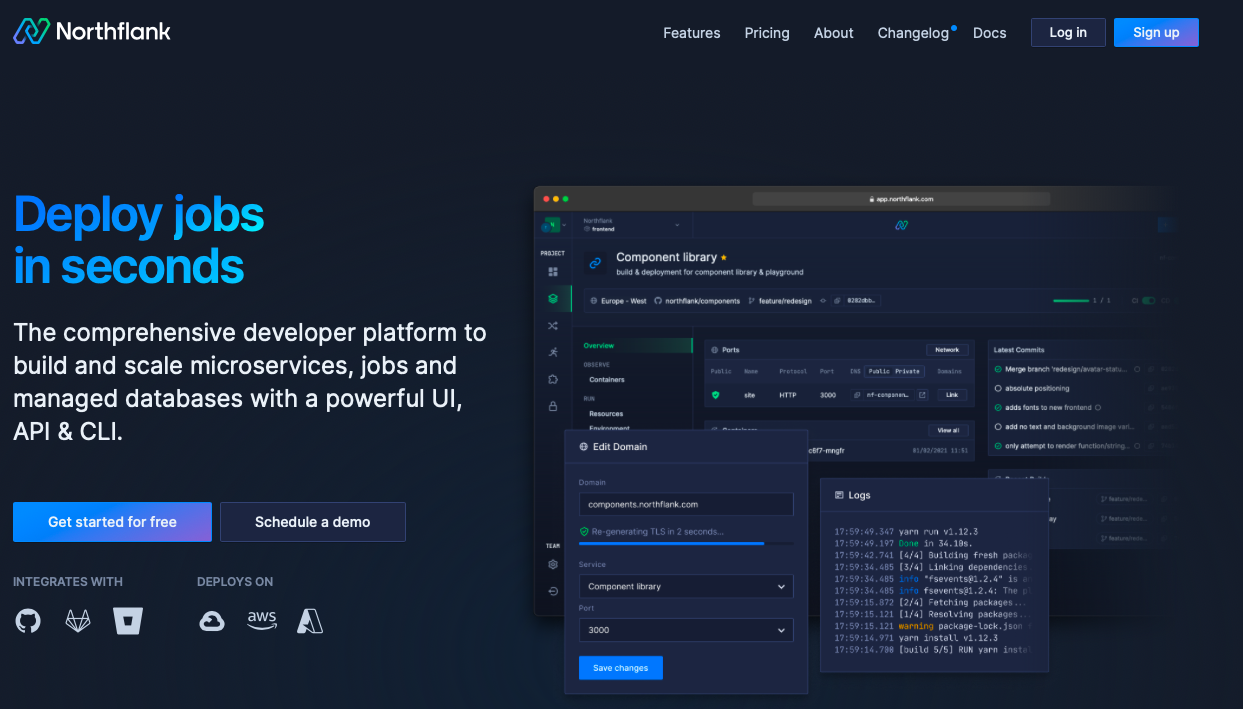
The comprehensive developer platform to build and scale microservices, jobs and managed databases with a powerful UI, API & CLI.
译: Northflank 一个全栈云平台,开发者注册可以体验免费计划,连接他们的版本控制-GitHub、Bitbucket或GitLab-并通过Docker文件立即构建和部署他们的所有存储库。
本文介绍的是 Docker 容器为 Ubuntu,若需要探讨 Alpine 环境,可以将本文结合 解决 Alpine 安装 ssh 异常错误 与 Alpine 安装 Python 环境 一起学习。
官方主页
https://app.northflank.com/signup
支持服务
docker、Nginx、Python、Django、Rust、Node.js、Ruby、Vue ...详细见官网
一句话基本上服务都能跑,没有的就自己建 docker 再 pull
贴个部署完的探针配置图,开源探针地址在 首发开源 ServerStatus-Tiny 轻量化跨平台多服务器一站式监控平台
注册准备
- 一个邮箱
- 良好的网络状况
- 一张信·用·卡(可用虚拟卡,不会扣费)
注册过程略过,记得进去选 developer free 计划。
服务安装
部署服务
Deployment -> docker
记得选外部镜像
docker 仓库填 ubuntu:latest (拉取最新 ubuntu )
配置ubuntu服务
于 docker 内运行以下命令
更新源
apt update && apt upgrade安装常用工具
强烈建议先安装下列程序中的
screen这里有坑:Northflank 有时会网络崩了给你断开连接,如果正在安装程序可能会导致中断!所以采用 screen 的方式挂起安装服务,即时异常退出仍然后台运行。
# screen
apt install screen -y

# 开一个 screen 会话
screen -S Suroy

# 网络工具: netstat, etc
apt install net-tools -y

# 常用工具
apt install vim neofetch top -y

# ping
apt install iputils-ping -y
安装ssh及配置
若感觉ssh配置麻烦可以参考本节底部两个附录简化操作。
安装
apt install openssh-server -y修复 docker 下的 ssh 服务
# 启动之前需手动创建/var/run/sshd,不然启动sshd的时候会报错
mkdir -p /var/run/sshd
登录方式(2选1): 设置密码登录
container 版 os 的 root 也是沒有密码的,所以也得先设置一下:
# 修改root密码,用于登录
passwd
# Enter new UNIX password:
# Retype new UNIX password:

# 配置ssh允许root登录、允许使用密码认证方式
echo "Port 22" >> /etc/ssh/sshd_config
echo "PasswordAuthentication yes" >> /etc/ssh/sshd_config
echo "PermitRootLogin yes" >> /etc/ssh/sshd_config

# 重启ssh
/etc/init.d/ssh restart
登录方式(2选1): 使用 key 登录
# 生成ssh-key
ssh-keygen -q -t rsa -b 2048 -f /etc/ssh/ssh_host_rsa_key -P '' -N ''
启动 ssh 服务
# 关闭原进程-即重启sshd
ps -aux | grep ssh
kill -9 pid
# 以守护进程运行ssh服务
/usr/sbin/sshd -D &
检测sshd是否运行
# 若22端口被监听即成功
netstat -apn | grep ssh
附: Dockerfile 开启自动启动ssh
如果想在 container 一启动就可以用 ssh 的話可以參考下面 Dockerfile 的写法,仅适用于 Ubuntu
FROM ubuntu:18.04

RUN apt update
RUN apt install openssh-server -y
RUN echo 'root:password' | chpasswd
RUN echo "Port 22" >> /etc/ssh/sshd_config
RUN echo "PasswordAuthentication yes" >> /etc/ssh/sshd_config
RUN echo "PermitRootLogin yes" >> /etc/ssh/sshd_config

EXPOSE 22

CMD /etc/init.d/ssh restart
附: 带 ssh 的Ubuntu镜像
未测试,请自行研究
https://hub.docker.com/r/rastasheep/ubuntu-sshd
FRP 配置转发
由于 Northflank 只提供了 80/443 的http公开端口服务,故其他的服务只能通过端口转发实现了。
这里用的是免费 FRP 服务,其实可以自己驾设一个,也不繁琐,行文方便就拿一个公开。
部署FRP服务
cd /root
wget https://raw.githubusercontent.com/stilleshan/frpc/master/frpc_linux_install.sh && chmod +x frpc_linux_install.sh && ./frpc_linux_install.sh
修改配置
使用免费 FRP 内网转发服务,这里是我写的demo,可以直接用,注意改名
vim /usr/local/frp/frpc.ini配置文件demo
[common] server_addr = frp3.freefrp.net server_port = 7000 token = freefrp.net # 以上为frp服务器信息 # 以下为本地内网客户端信息 | 名字记得改 [ssh_suroy2333] type = tcp local_ip = 127.0.0.1 local_port = 22 remote_port = 26666 # 端口记得更改- 附录
frp官方文档: https://gofrp.org/docs/examples/
freefrp: https://freefrp.net
frp开源项目: https://github.com/fatedier/frp
畅游 SSH
启用了frp之后使用frp地址进行登录
ssh root@FRP_ADDRESS -p FRP_FORWARD_PORTFRP_ADDRESS: FRP服务器地址(server_addr -> 本文是frp3.freefrp.net)
FRP_FORWARD_PORT: FRP服务转发端口(remote_port -> 本文是26666)
异常处理
screen 意外退出怎么终止
# 1234.xxx 为会话名
screen -S 1234.xxx -X exit
写在最后
本文旨在学习 docker 容器及云服务,不提倡也不支持白嫖云服务。


Comments | NOTHING